
|
|
starting to frame in the new chicken house. 3/23/13
|
I have been working on a new, larger chicken house, where I can have separate
sections for isolating birds for breeding. It is post and beam construction
and it took me a month to dig the 8 post holes through the rocks and caliche.
That was the hardest part. Now I've begun trimming the posts and framing. The
whole thing is 12x24 feet. I had to buy the posts and the bottom boards that
will be touching or partly in the ground because they needed to be treated.
The rest of the building I am reusing wood from pallets and scrap lumber from
wherever I can find it.

|
| The front |
As you can see here I have 4 more posts to trim and more 2x6 to put up. The
wood on the bottom of the walls here are boards from pallets. The white stuff
is the inside of a feed sack that is woven poly, as it's fairly waterproof I'm
using it like tar paper behind the boards. The rest of this side will be open
with weld wire stapled over it to prevent predators. I may add windows, but
will probably not really need them until fall.
Each area will be divided from the others on the inside, giving me 8x12 foot
sections to work with. One section will be open for the laying flock and the
other two sections will be divided up into breeding pens.
Sep 1, 2013
I thought I had some more pictures of this building in progress but I'm not
finding them. Well I'll show you how far along I am now.

|
|
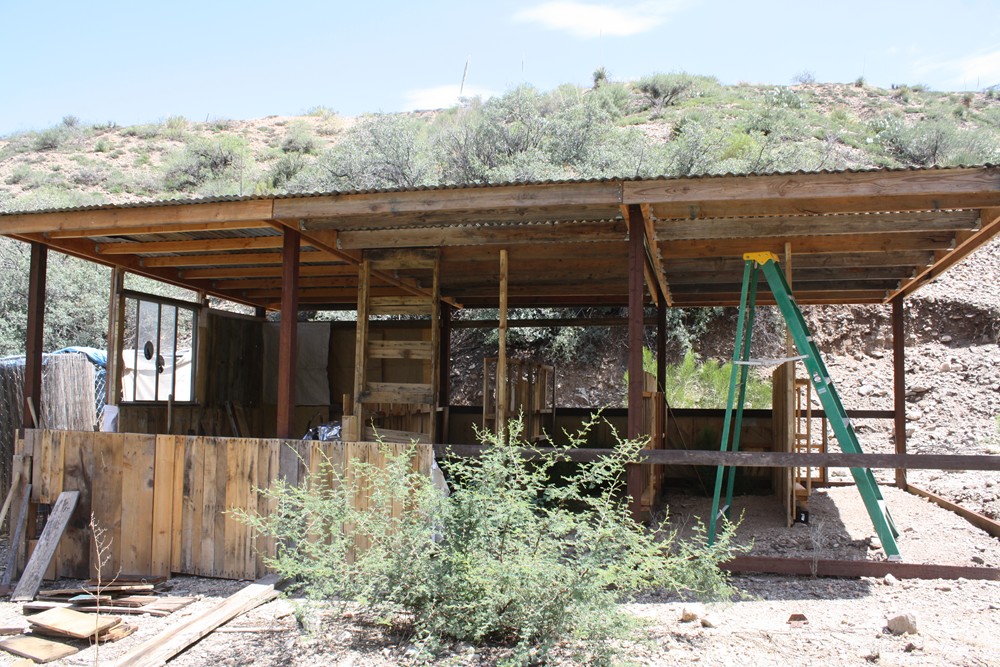
Progress as of Aug 31, 2013
|
This is the view from the front. As you can see I finally got the roof
on it. I am still working on closing in the back, part of the ends and bottom
part of the front wall. The rest of the front wall will be covered in weld
wire to keep predators out. All of the boarding is reclaimed pallet wood. The
2x6 nailers for the roof are also reclaimed wood from some friends, as are
most of the 2x4s on the walls. The dividers for the breeding pens are 4x8
pallets to which I added extra boards to close up the spaces.

|
|
The Layer's section in progress.
|
The layer's pen is 8x12. The roosts will be along the back wall. See the gap
at the top of the wall? That will be a permanent screened vent. The window is
missing a pane of glass but I have some plexiglass to put in there, then it
will be covered with weld wire. Nesting boxes will go under the window and on
the opposite wall.
That big wad of Mylar was given to me by a friend that received some equipment
wrapped in it. I'll be stapling it up on the rafters to help deflect some of
the heat from the tin roof.

|
|
two breeding pens in progress
|
The other two sections of the building are divided up into 6 breeding pens,
each pen being about 4x8. With this arrangement I can house 7 roosters and
just rotate girls around depending on who I want to hatch chicks from.
I am putting in a pop door in each section now, even though it will be a bit
before all of the outside pens are finished. But this way I won't have to come
back and cut holes in the walls later. I can just screw a piece of wood over
the ones I don't want to use right now, until pens are built and I install
sliding doors in the spaces.
Right now I"m trying hard to get the layer's section finished so I can move
some young pullets in there. I've been sorting out a batch of birds and will
only keep a few, the rest will be for sale. Moving out the ones I want to keep
will make that easier. I'll just have a pen of birds that need to go to new
homes.


No comments:
Post a Comment